
Substrate levels, format, bedding, and sealing: mistakes to avoid when installing porphyry for durable paving.
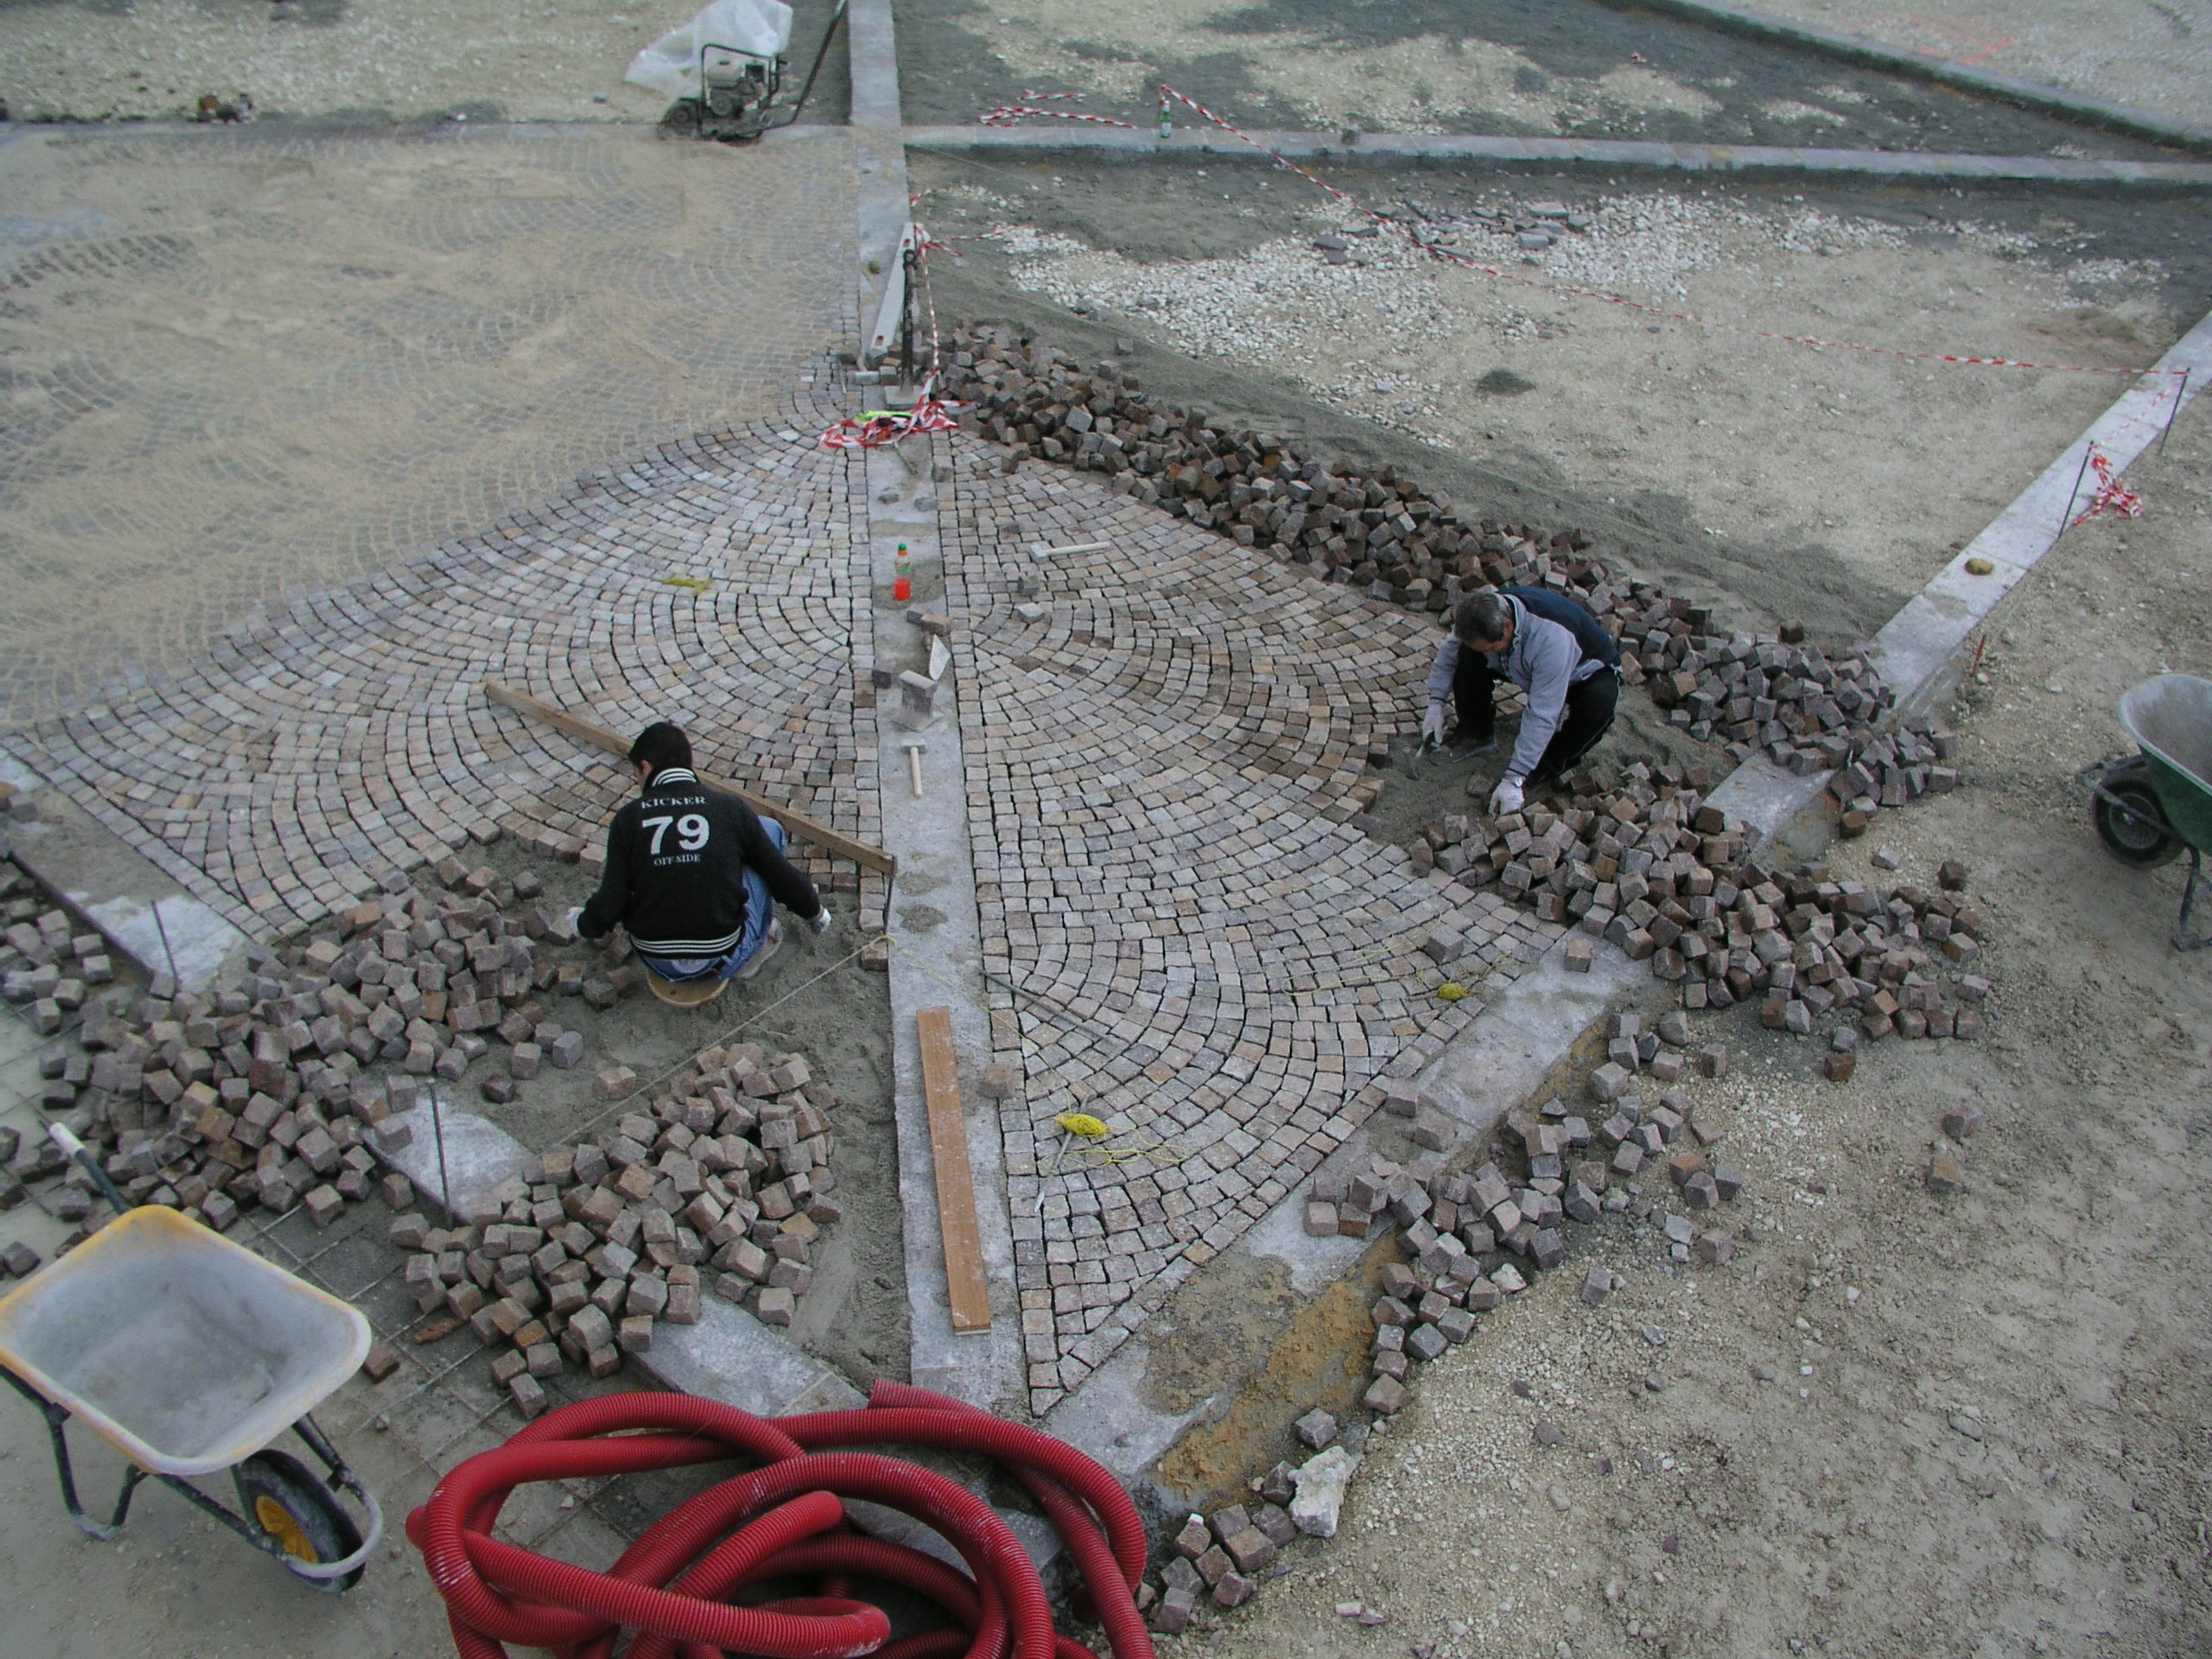
The durability of porphyry paving is determined before installation. The subgrade elevation, stone size, and installation techniques must be suited to the intended use and work together to ensure long-term stability.
A porphyry street, square, or walkway truly showcases the stone’s value when the quality of the material is matched by meticulous craftsmanship. The installer’s experience is essential, but they must be able to rely on a well-thought-out design and thorough inspections throughout the project.
The most insidious mistakes often involve things that aren’t visible once the flooring is complete: a subfloor installed at the wrong height, a screed that’s too thick, or an installation technique unsuitable for the expected traffic. Understanding these issues allows you to prevent them right from the initial design decisions.
The UNI 11714-1:2018 standard and the book *PORFIDO – Technical Guide to a Noble Stone* serve as the technical references cited in this in-depth analysis, which focuses on the key aspects to consider for professional installation.
As discussed in detail in the article“Designing a Porphyry Paving Project: From Intended Use to Specifications,”preparing the subbase is a critical step. Whether the subbase consists of a gravel base or a reinforced concrete screed—which must be shaped to achieve the required slopes—it is essential to leave sufficient space beneath the finished surface for the stone and its bedding layer.
The effective thickness must be calculated based on the product selected. Two examples will help illustrate this criterion:
These are examples of sizing that should be considered in relation to the design solution. The principle remains the same: the height of the support must allow for the proper installation of the flooring.
If there is insufficient space, reducing the thickness of the stone may compromise its ability to withstand the expected loads. If there is too much space, simply increasing the bedding layer may compromise the overall stability. An error in the dimensions therefore requires correcting the support, without improvising adjustments during installation.
The choice of stone must be based on its intended use. A pedestrian path, a residential driveway, and a roundabout are subject to different stresses: the size, thickness, and laying pattern must be determined accordingly.
For Class P.9 pavements, such as urban roads with heavy traffic and roundabouts, the 6/8 × 6/8 cm paving stone is not suitable. The recommended solutions call for paving stones of at least 8/10 × 8/10 cm, laid in alternating patterns, or 10 × 10 × 8/10 cm, laid in parallel rows.
The installation pattern also affects performance. Peacock-tail and concentric circle patterns are strongly discouraged in classes P.9 and P.8.
For tiles, the type with a thickness ranging from 3 to 6 cm is used in Class P.6 applications, which include pedestrian walkways and areas with occasional vehicular traffic, in accordance with the conditions specified in the design. For Classes P.7 and P.8, tiles with a thickness of at least 5–8 cm are required. On Class P.9 roadways with heavy traffic, the use of tiles should generally be avoided.
When vehicle traffic is present, it is also advisable to prioritize elements with compact dimensions: all other conditions being equal, larger dimensions require greater attention to flexural strength.
For Class P.9 paving stone installations, the two standard installation methods are loose-bed installation with resin joint sealing and compact-bed installation using high-performance premixed cementitious mortars, which are used for both the bedding layer and joint sealing.
In both cases, vibrocompaction performed with machines appropriate for the size is essential. For 8/10 cm pavers, a typical guideline is a centrifugal force of 25–30 kN and a weight of 150–200 kg. The material used for the bedding layer must also be appropriate: crushed rock of magmatic origin for the loose-bed method and premixed cement mortar with a “damp earth” consistency for the compacted-bed method.
Porphyry tiles, on the other hand, require a bed of cement mortar or special high-performance premixed mortars with a plastic consistency. Installation involves applying an adhesive slurry to the underside of each tile to ensure proper bonding with the installation bed.
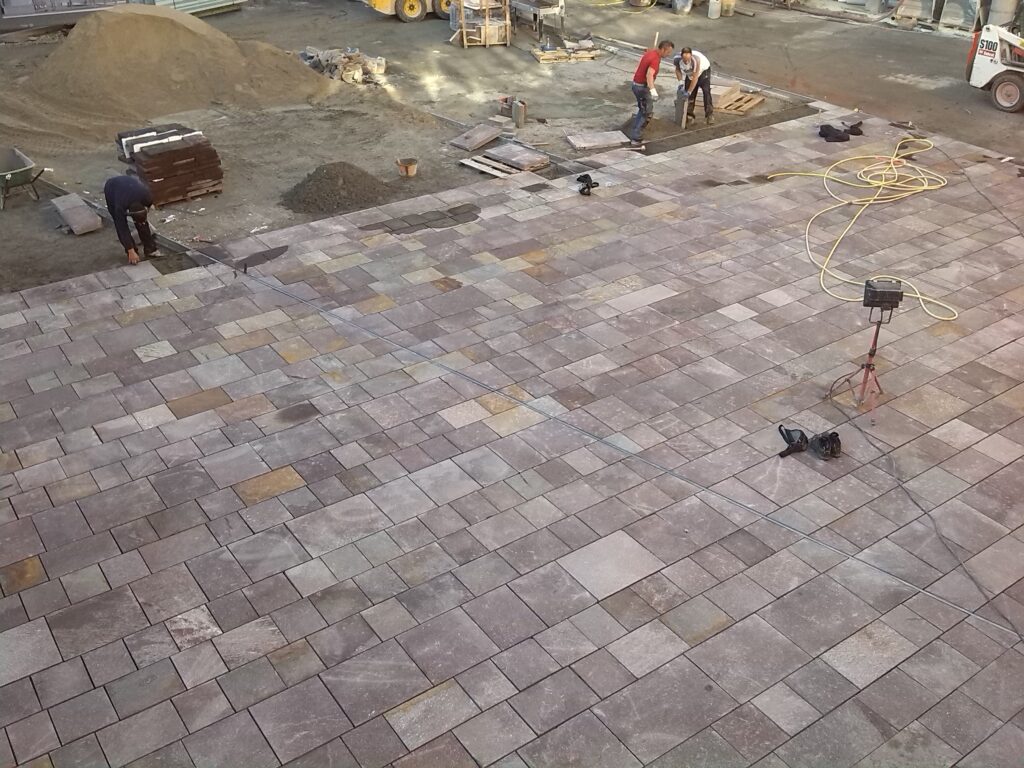
Sealing completes the system and must be consistent with the installation technique and the expected stresses. Joints must be wide enough to allow the sealant to penetrate properly: for outdoor flooring, “zero-joint” installation—where the tiles are laid virtually edge-to-edge—must be avoided.
In the systems described, traditional sealing with a liquid mixture of sand and cement can be used up to Class P.8. For Class P.9, when a cement-based system is used, high-performance premixed materials are required.
Environmental conditions also affect the outcome. Resin-based sealing requires caution regarding humidity and rain; cement-based sealing must be performed within the temperature ranges specified by the manufacturer. For each product, it is therefore necessary to follow the application conditions listed in the corresponding technical data sheet, even in high temperatures.
Durable flooring results from a balance between the quality of the stone, the design, and the expertise in installation. The subbase must accommodate the specified thicknesses; the size and layout of the stones must be appropriate for the expected traffic; and leveling, compaction, and sealing must all contribute to the overall stability of the installation.
It is this continuity between the design and the construction site that allows porphyry to reveal its qualities over time. Taking care of what will remain beneath the surface means protecting what will be visible every day: a stable, functional floor that enhances the space in which it is installed.
Describe the intended use and expected traffic to Italporphyry : consult with the Consortium regarding materials and installation solutions for your project.


Via Kufstein, 1 - Staircase A, 2nd floor
38121 TRENTO (TN)
Tel. +39 0461 829835
Fax. +39 0461 829838
Email: info@italporphyry.eu
Web: www.italporphyry.eu